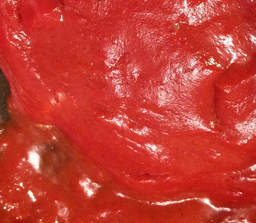
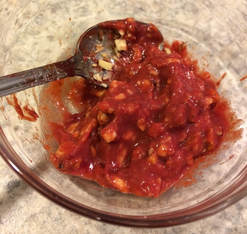
Recipe: Autumn Olive Berry ChocolatesFrom the archives! Originally posted February 2015. These are basically jelly-filled chocolates, with puree I made up myself using locally foraged autumn olive berries. You can use any kind of berry you'd like for the puree or filling. Feel free to use jam you already have made up! 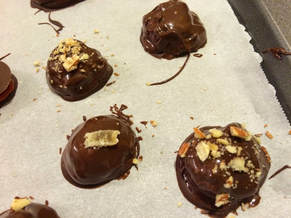 Finished chocolates with toppings Part 1: Puree Filling -Cook berries on low heat, with a little bit of water so they don't burn. Stir frequently while mashing berries with a wooden spoon or fork. -Use a strainer or food mill to separate pulp and seeds, creating puree. -Return puree to saucepan. -On medium heat, add honey and/or sugar to taste -Add cinnamon, plus dashes of ginger, clove, vanilla and almond extracts, to taste. Add a dash of salt. Stir well. Taste again to make sure you think the puree is delicious. -Add pectin according to the directions on the box. I like Pomona's Universal Pectin because I can sweeten with other things than just sugar. -Bring puree to a boil while stirring constantly. Boil for about one minute. -Remove from heat and set aside to cool and gel. -Mix fillings of your choice into puree. I kept each filling combo in a separate bowl. Some ideas are: crushed nuts, coconut, cacao nibs, ginger, etc. -Set filling aside.
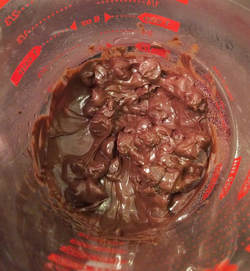
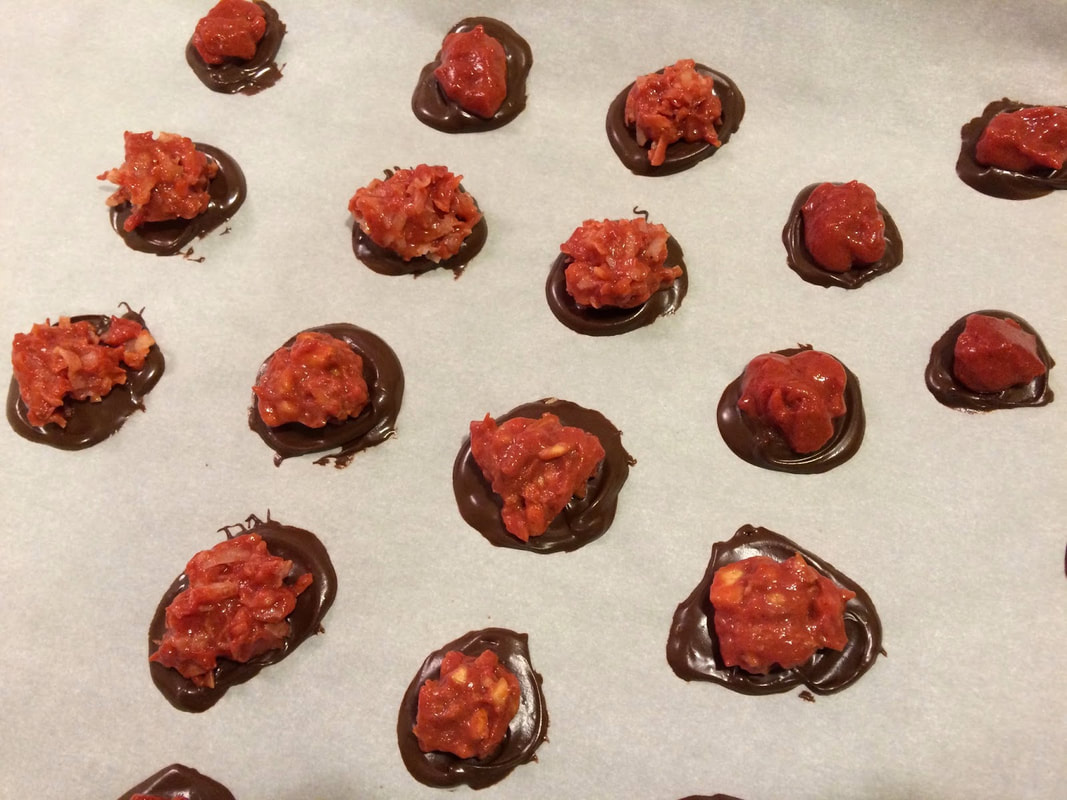
Step 2: Chocolate and Assembly -Melt the chocolate of your choice in a double boiler, on medium heat. (A note on chocolate: I used Toll House semi-sweet morsels, because that is what was in the cupboard. I think Ghirardelli dark chocolate morsels would be really good too.) -With a spoon, dot chocolate in rows on a parchment paper-covered cookie sheet. Smooth each dot to make a circle. This is the base of the chocolate. -Chill the chocolate briefly in fridge or freezer to harden. -Top each chocolate base with a small spoonful of filling. -Go back to your double boiler and melt another 1/4 cup of chocolate morsels. Add maybe 1/8 teaspoon of coconut oil to thin the chocolate a little, just enough to make it easier to work with. -Top each chocolate with melted chocolate. You can dip them into the melted chocolate, drizzle the melted chocolate using a spoon, pour it on...I don't really have a good technique for this part. I ended up using a spoon to drizzle the melted chocolate, then spread it over the filling with the back of the spoon. Kind of like painting in chocolate. -Sprinkle with toppings as you go, if you like, while the chocolate is still warm. In this batch, the sprinkles are a clue as to what's inside - coconut sprinkles with autumn olive puree + coconut, etc.
Store in an airtight container in a cool place for up to a couple weeks - if they last that long!
2 Comments
5/13/2024 10:25:17 am
I wanted to express my gratitude for your insightful and engaging article. Your writing is clear and easy to follow, and I appreciated the way you presented your ideas in a thoughtful and organized manner. Your analysis was both thought-provoking and well-researched, and I enjoyed the real-life examples you used to illustrate your points. Your article has provided me with a fresh perspective on the subject matter and has inspired me to think more deeply about this topic. 5/13/2024 10:45:02 am
Thank you! I'm glad you found my article helpful and thought-provoking. To find more content like it, try looking for publications or writers that cover topics you're interested in, and consider exploring books and academic journals. Thanks for your feedback! Leave a Reply. |
Author
Herbalist plant ramblings and adventures in green medicine, by Linden Tree Herbals potion-maker Ginny. CategoriesArchives |
| Linden Tree Herbals | . |
 RSS Feed
Proudly powered by Weebly